Install the signature device hardware and software
Before you connect the signature device, make sure you have read the Place the admissions equipment topic and have selected a suitable location for the device. Follow these steps to install the driver for the signature device on the administration workstation and to connect the device.
|
You must download the ePad electronic signature device driver off the Connect portal Resources Support materials application. See Download ePad signature pad driver topic for details on downloading the files. Temp directory path: Downloads |
 Note
Note- Open Windows Explorer and navigate to the Downloads directory.
- Double-click the ePad_UI12.0_R12001_setup.exe or the ePad_II_UI12.4.R12285_setup.exe file.
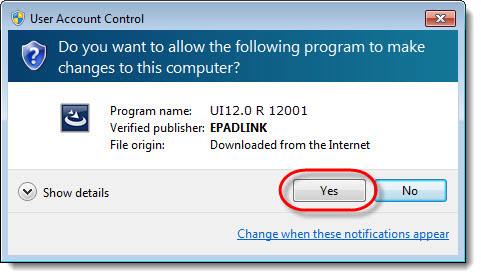
- Select Yes in the User Account Control dialog box.

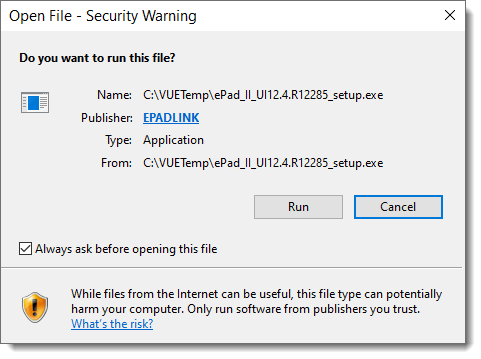
- Select Run in the Open File Security Warning dialog box.
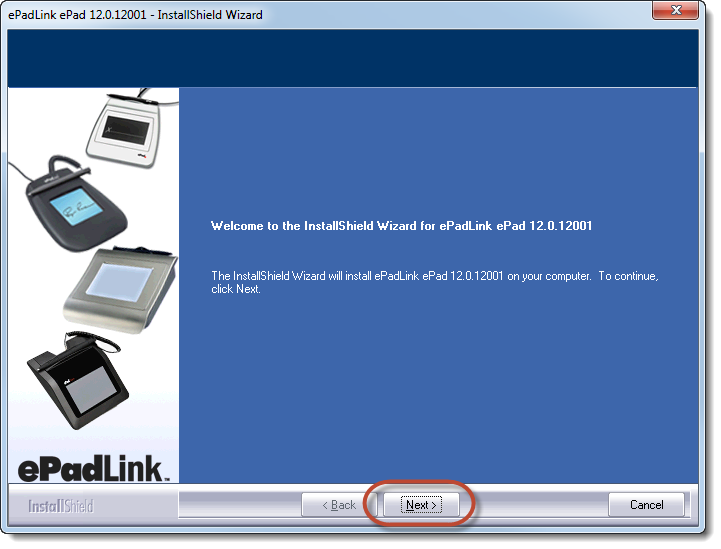
- Select the Next button in the Welcome dialog box.
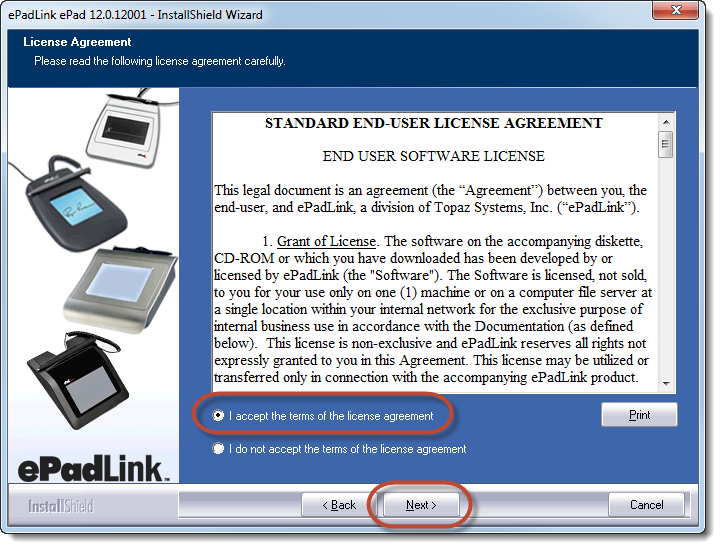
- Select the I accept the terms of the license agreement option and select Next.
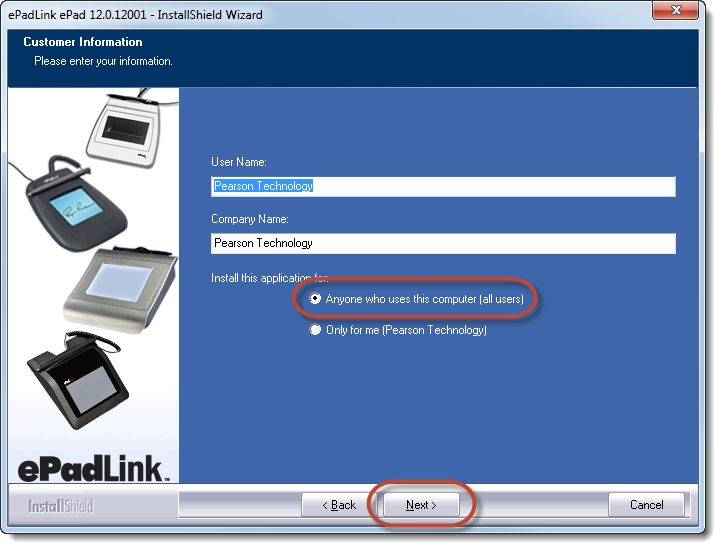
- The Customer Information dialog box appears. Enter your User Name and Company Name. Select the Anyone who uses this computer option and select Next.
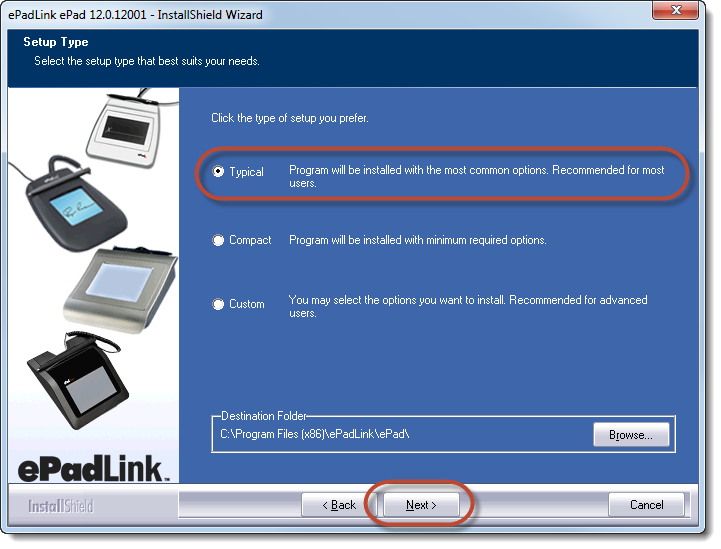
- The Setup Type dialog box appears. Select the Typical setup. Keep the default path: C:\Program Files\ePadLink\ePad. Select Next.
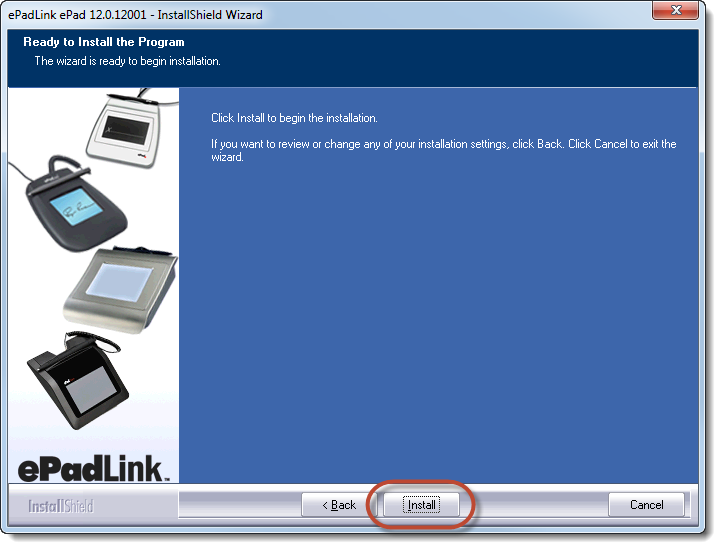
- Select Install in the Ready to Install the Program dialog box.
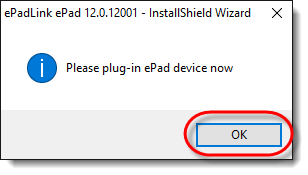
- Plug in your ePad device and select OK.
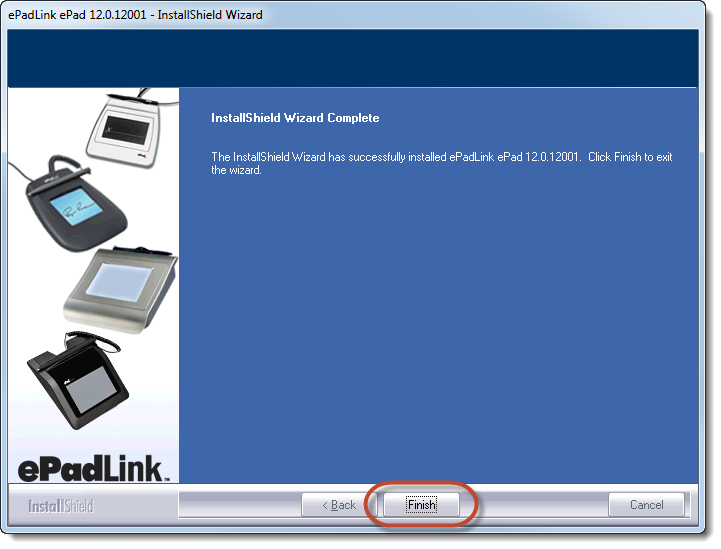
- The InstallShield Wizard Complete dialog box appears. Select Finish.
Installation is complete. You are ready to test the signature pad device.
|
What is next? |
Pearson Proprietary and Confidential