Test the palm vein device
Follow these steps to verify that the palm vein device is working properly.
- On the administration workstation, select the Windows Start button and select the All Apps | VUE Applications | Test Admissions Equipment menu.
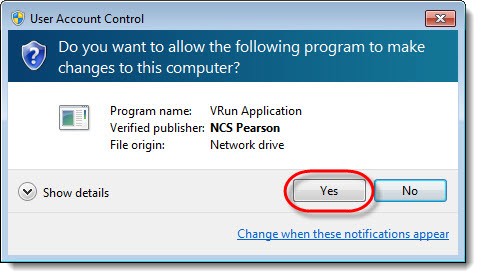
- Select Yes in the User Account Control dialog box.

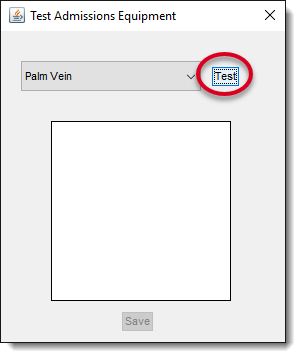
- Select Palm Vein from the drop-down menu in the Test Admissions Equipment dialog box and select Test.
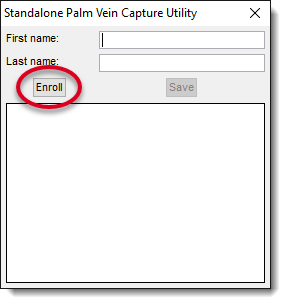
- Enter the First Name and Last Name of the candidate in the appropriate fields of the Standalone Palm Vein Capture Utility dialog box.
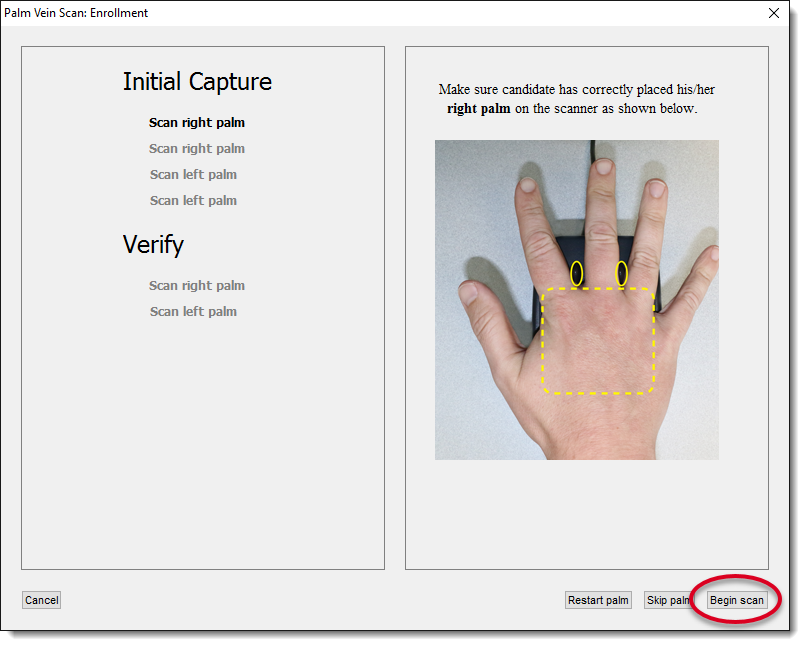
- Place your right palm on the scanner. Rest the heel of your hand on the flat piece of the scanner and place your fingers between the finger dividers with your middle finger in the center slot on the scanner. Select Begin scan.
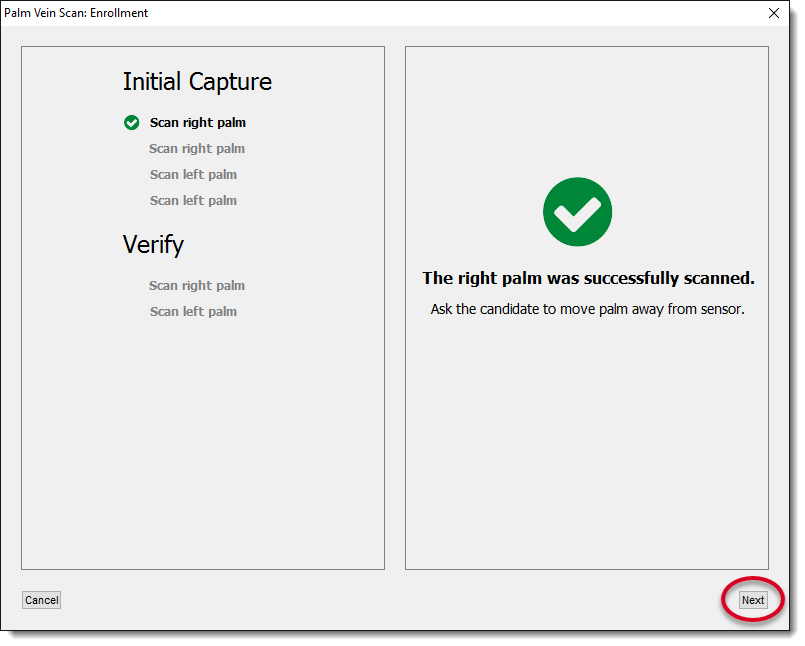
- Hold your hand very still while the application captures the image of your hand. The right palm was successfully scanned message appears. Move your palm away from the sensor and select Next.
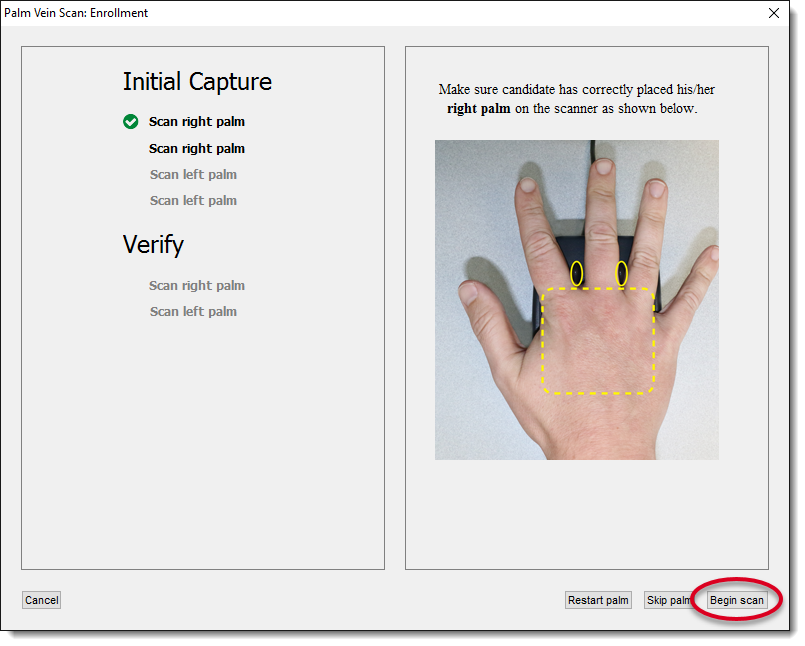
- Place your right palm on the scanner again to verify the right palm scan. Select Begin scan.
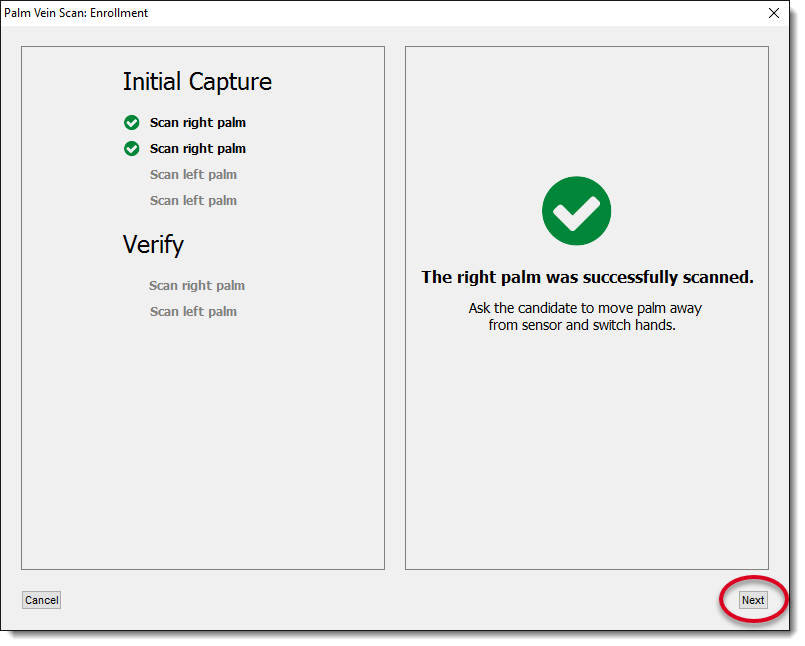
- The right palm was successfully scanned message appears. Move your palm away from the sensor and select Next.
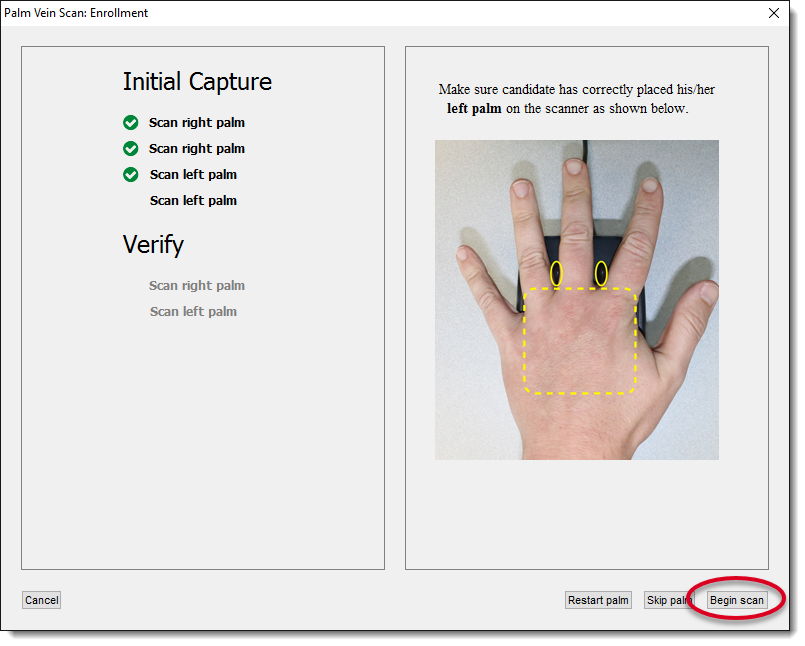
- Place your left palm on the scanner and select Begin scan.

- The left palm was successfully scanned message appears. Move your palm away from the sensor and select Next.

- Place your left palm on the scanner again to verify the left palm scan. Select Begin scan.
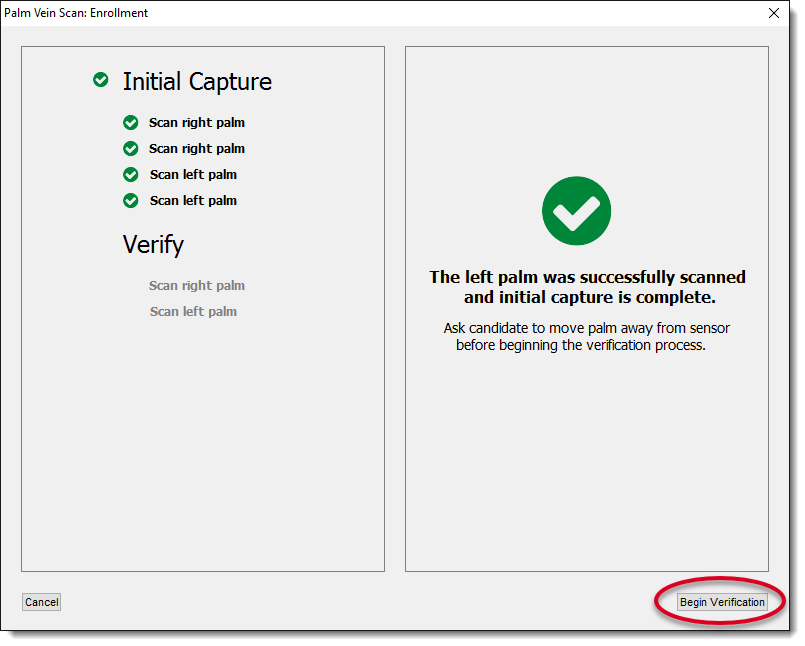
- The left palm was successfully scanned and initial capture is complete message appears. Move your palm away from the sensor and select Begin Verification.
- Place your right palm on the scanner and select Begin scan.

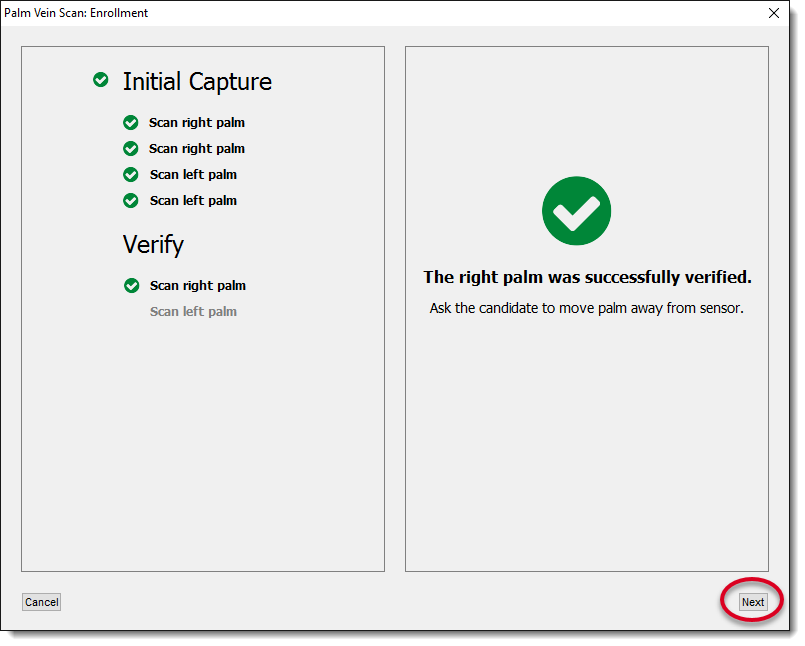
- The right palm was successfully verified message appears. Move your palm away from the sensor and select Next.
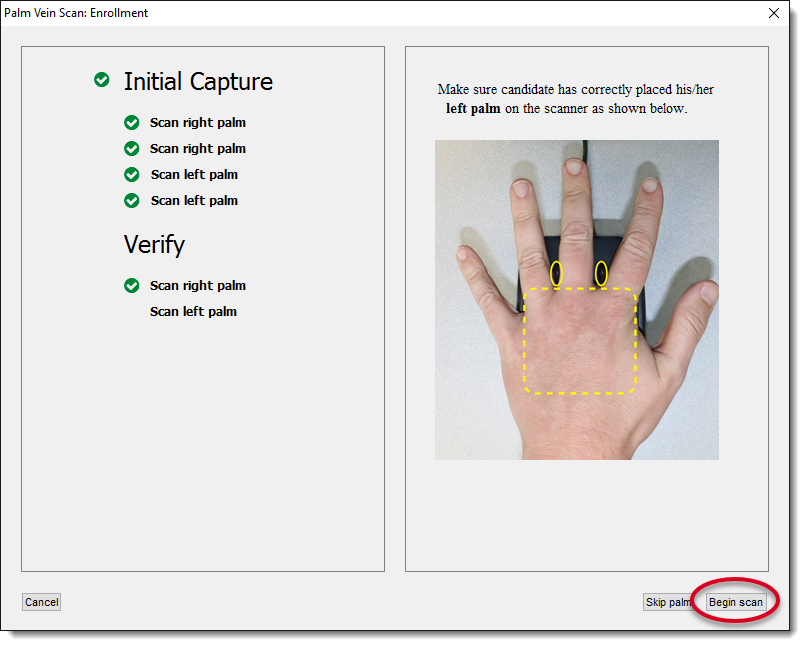
- Place your left palm on the scanner and select Begin scan.
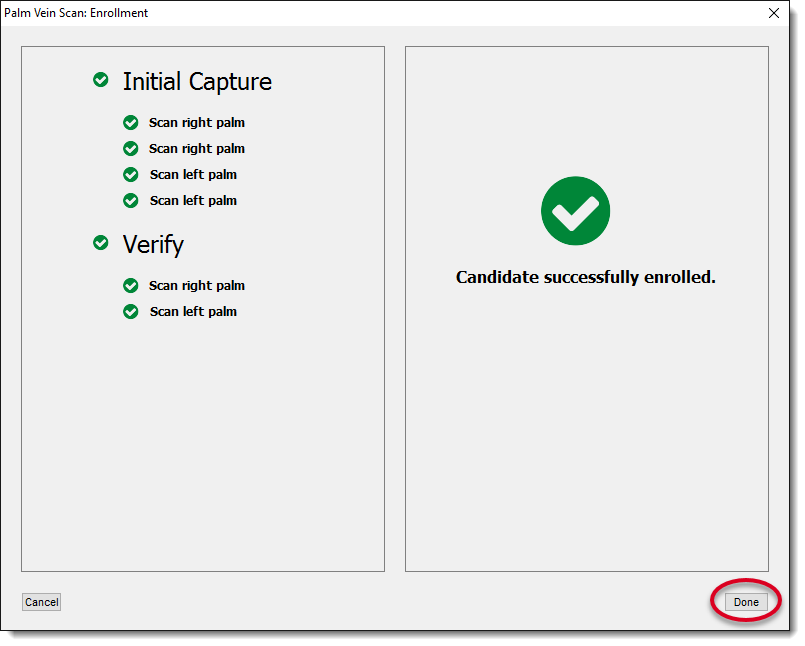
- Candidate successfully enrolled message appears. Select Done.
- At any time, you can select Cancel to return to the Standalone Palm Vein Capture Utility dialog box.
- Select Save in the Standalone Palm Vein Capture Utility dialog box. The palm vein enrollment is successfully captured and saved to the %VUERoot%\biotemp directory.

A zip file is created using the first name, last name, date and time stamp.
For example: John-Doe-20170217160626.zip ![]()
![]()

- Close the Standalone Palm Vein Capture Utility dialog box.
- Close the Test Admissions Equipment dialog box.
|
What is next? |
If you are installing a scanner proceed to Install the scanner. If you are not installing a scanner, proceed to Enable admissions equipment. |
Pearson Proprietary and Confidential