Install VTS on the stand-alone server
|
Only ITC sites are authorized to configure a stand-alone scenario configuration. Please contact your local Pearson VUE Support Specialist if you have any questions regarding this issue. |
 Note
NoteThis procedure installs the testing system software, including Site Manager, Admissions Manager, Registration Manager, and Delivery Manager on a single workstation. You will use these applications to manage information about your site and to register and schedule candidates for exams. Delivery Manager is used to present exams to candidates. Administrators also use the application to select exams for delivery and to manage exam breaks and testing time.
Follow these steps to install the testing system software on the Administration workstation if you are installing a stand-alone scenario:
- On the Administration workstation, you must run the installer with stand-alone scenario enabled.
- Open Windows Explorer and navigate to the C:\directory.
- Create a new folder called VUETemp.
- Open the Downloads folder and copy the VTS_2_3_xxxx.exe file.
- Go back to the C:\VUETemp directory and paste the VTS_2_3_xxxx.exe file.
- Click in the Search field on the Windows Task bar.


- Type C:\VUETemp\VTS_2_3_xxxx.exe /EnableSA in the Search field and hit the Enter key. (Make sure there is a space between exe and /EnableSA.)
|
Make sure you type in the correct installer name. This is the installer you downloaded from the Resources Support materials application in the Download VTS Installer topic. |
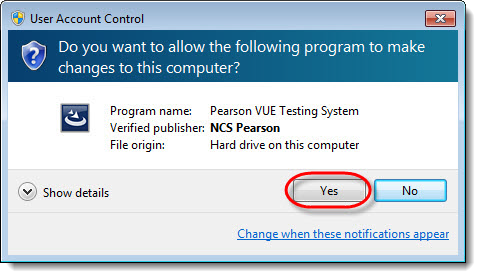
- Select Yes in the User Account Control dialog box.
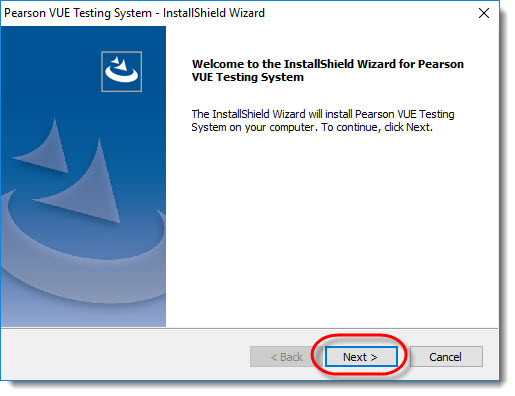
- The InstallShield Wizard extracts files needed for the installation and then displays a Welcome dialog box. Select Next.
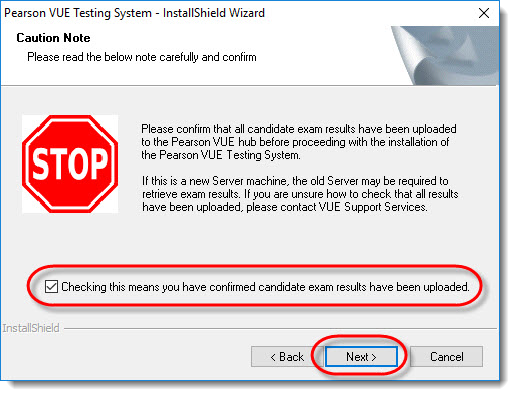
- You must ensure all exam results have been uploaded to the Pearson VUE hub if you are attempting to reinstall the VTS software at an existing site. Contact VUE Support Services if you need assistance. Select the Checking this means you have confirmed candidate exam results have been uploaded option and select Next.
- The License Agreement dialog box appears. Review the Software License Agreement. Select Yes to accept the terms of the Agreement or No if you do not accept the terms and want to stop the installation.
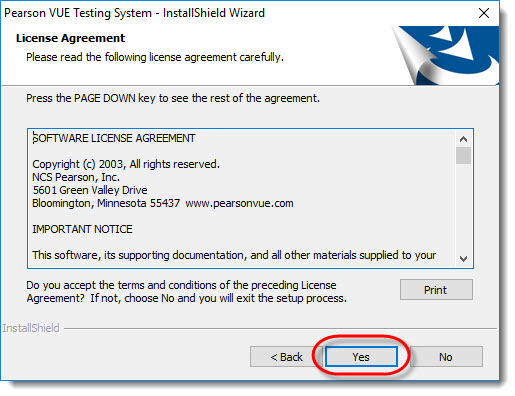
- When asked to confirm that you agree to the terms of the License Agreement, select Yes to continue or No to exit the installation.

- The Setup Type dialog box appears. In this dialog box you must choose your testing system configuration. Refer to the Stand-alone scenario installation topic for details about the stand-alone scenario. Choose Standalone Scenario and select Next.

- The Choose Destination Location dialog box appears. Choose the directory where the VTS software will be installed.
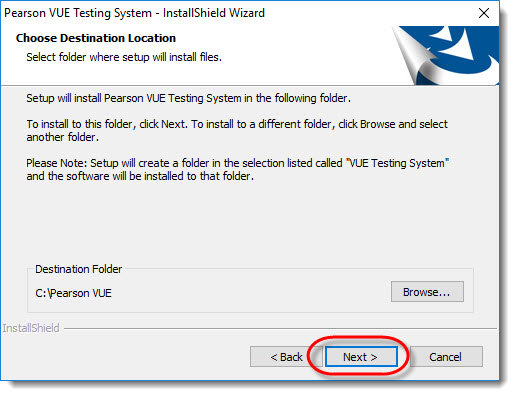
- We recommend using the default directory (The default directory is C:\Pearson VUE). Do not install to the root of the drive.
If you prefer to install the files in a different directory, select Browse and locate the directory. Select the directory and add the folder name to the path, such as D:\VUE. Then select OK.
- After choosing a location, select Next.
- In the Network Connection dialog box, you must specify the TCP/IP port numbers for Local Services and Update Agent.
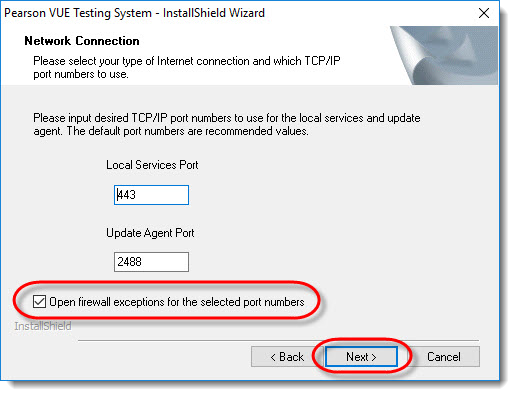
Although you may change to different port numbers, we recommend you use the default values 443 for Local Services Port and 2488 for Update Agent Port.
|
If you change the port numbers, be aware that the installer will not check whether the numbers are considered “well-known TCP/IP ports, nor does it check if the chosen ports are currently reserved or being listened to by another process. Use caution in changing the port numbers. |
- Keep the Open firewall exceptions for the selected port numbers check box selected. This allows the installer to open ports in the Windows Firewall by setting the appropriate registry keys.
- Select Next.
- The Wrapper Service User dialog box appears. Enter the local computer name in the Domain field, the Username and Password for the Wrapper service account. Then type the password again in the Confirm Password field. Select Next.
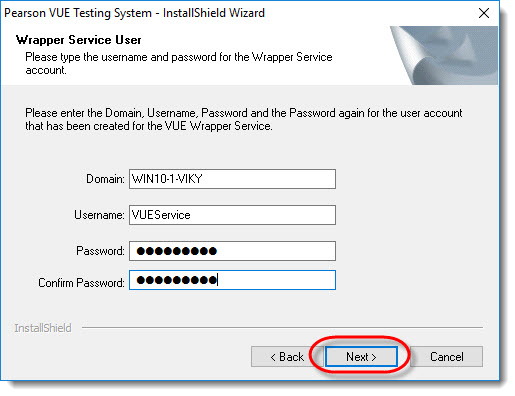
In this dialog box, you must enter the information for the user account you created in the Create a service user account (VUE Wrapper account) - stand-alone scenario topic.
- The Start Copying Files dialog box appears. Verify the current settings and select Next.
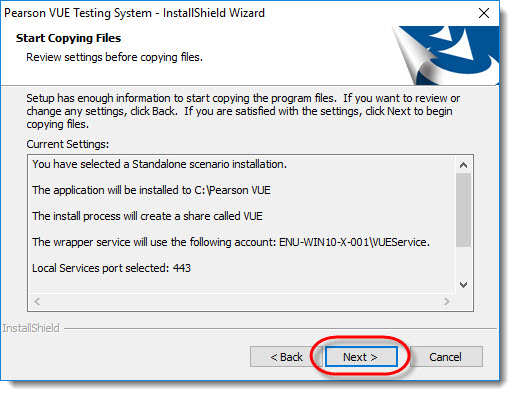
This dialog box lists the options you chose during the installation procedure. If any of the information is incorrect, select the Back button to return to the previous dialog box and correct the information.
The Pearson VUE Testing system configures your new software installation.
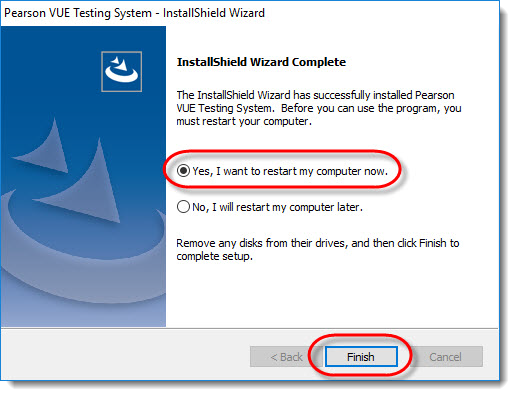
- After the files are installed, the Complete dialog box appears. Choose the Yes, I want to restart my computer now option and select Finish.
|
It will take longer than usual to reboot the workstation after installing .NET 4.0. A blue screen appears for a few minutes and then you will see some C++ messages before finally landing on the workstation desktop. |
|
What is next? |
Pearson Proprietary and Confidential