Admit the candidate
If your installation is working properly, once the wrapper runs RMA or you manually run RMA, the exam appointments you created appear in Admissions Manager and the exams are marked as Deliverable. You can then admit yourself for the exams and launch them through Delivery Manager, as described in the following procedure.
- On the Administration workstation, select the Windows Start button and select the All Apps | VUE Applications | Admissions Manager menu.
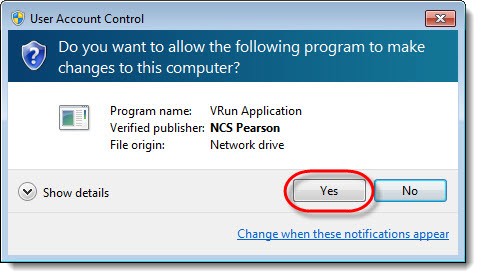
- Select Yes in the User Account Control dialog box.

- Type your User Name and Password and select OK.
Admissions Manager opens with the Schedule dialog box displayed. The exams you scheduled in the previous section should be listed in the dialog box. You may need to scroll to see the time at which you scheduled the exams. The grid shows how many exams are scheduled at each time on each date, and you can select a slot in the grid to display the appointment information in the bottom half of the dialog box.
For each appointment you scheduled, the box in the D column should be selected. This indicates the exam is ready to be delivered. ![]()
![]()
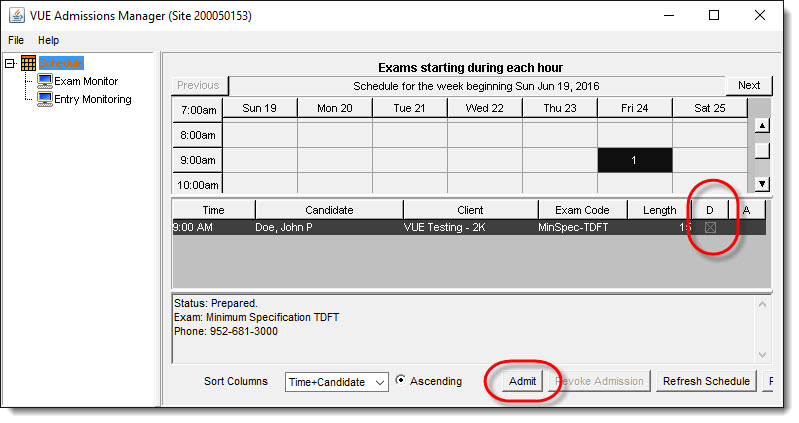
- Select an appointment in the list, and then select the Admit button at the bottom of the dialog box.
The Admit button allows you to check in a candidate for an exam using the Admissions Manager application. This application leads you through the steps required for admitting a candidate, such as checking his or her identification and having him or her sign the Candidate Rules Agreement. As shown below, each step in the admissions process is listed on the left side of the dialog box, while detailed instructions for the step are provided on the right. Each step is checked off in the list on the left as you complete it.
Since we will not require you to check your own identification, you can simply advance through the admission steps. However, look at each step in the process so you start becoming familiar with what is involved in admitting a candidate. ![]()
![]()
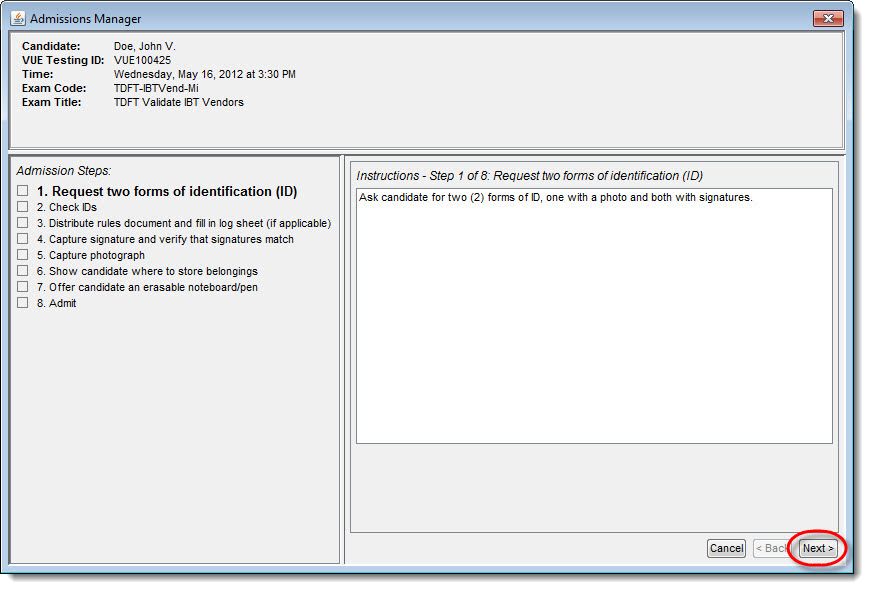
- Select the Next button in the bottom right corner of each admission step dialog box to complete the step. When you reach the last step, select the Admit button.
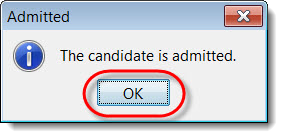
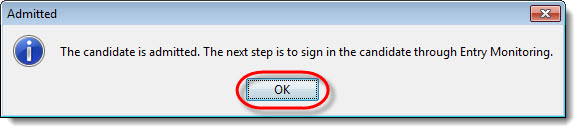
- Select OK to close the Admitted dialog box. If you have entry monitoring turned on, the message reminds you to sign the candidate in through Entry Monitoring.
Candidate admitted without Entry Monitoring enabled.
Candidate admitted with Entry Monitoring enabled.
The Schedule dialog box appears. The candidate’s status, which is shown at the bottom of the dialog box, is now Admitted. This means the exam can be started. ![]()
![]()

|
What is next? |
If entry monitoring is required at your testing site, proceed to Admit candidate through entry monitoring. Proceed to Take the exams. |
Pearson Proprietary and Confidential