Test and align admissions camera - non-candidate
There may be times when you must take a picture of an object, to display how a candidate was cheating for instance. The Test Admissions Equipment utility allows you to capture an image of the offending object, save a copy of the image, and then attach the image to a ServiceDirect case to prove the candidate was cheating.
Follow these steps to verify that the camera is working properly for capturing photographs of objects:
- On the Administration workstation, select the Windows Start button and select the All Apps | VUE Applications | Test Admissions Equipment menu.
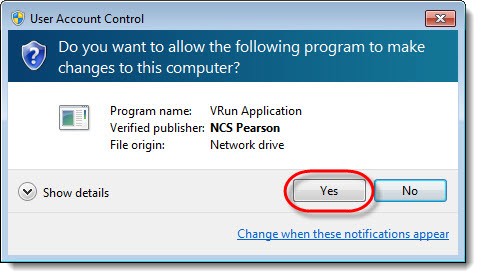
- Select Yes in the User Account Control dialog box.

- To take a picture of an object, select Photograph – Non-Candidate from the drop-down list in the Test Admissions Equipment dialog box.
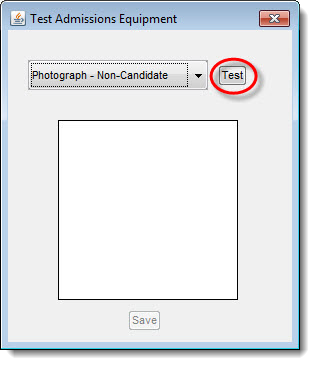
- Select the Test button to display the Capture Photo dialog box.
- The object’s photo appears in the Capture Photo dialog box. The dialog box displays what you are currently viewing through the camera lens. Adjust the camera so you can clearly see the object.
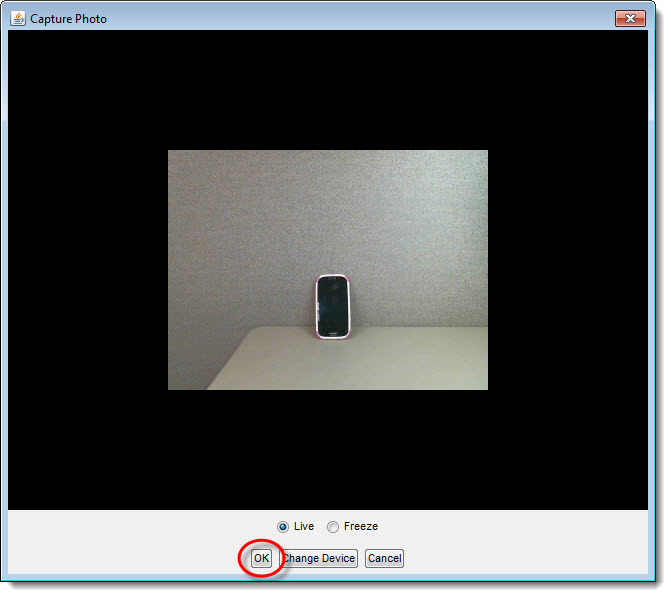
- Select the OK button to close the Capture Photo dialog box.
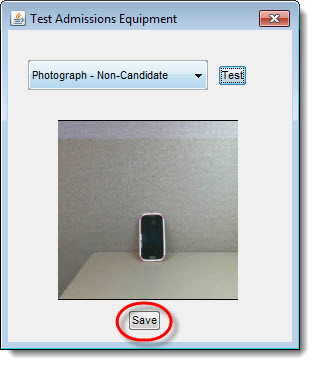
- The object image is captured and displayed in the Test Admissions Equipment dialog box. Select Save.
- The Save Image dialog box opens to the Pearson VUE\VUE Testing System\biotemp directory. Enter the Candidate’s first name, last name, object name, and date so the file has a unique name. Do not include spaces in the name; use hyphens or underscores instead.
For example: John-Doe-accessed-phone-20130814.jpg ![]()
![]()
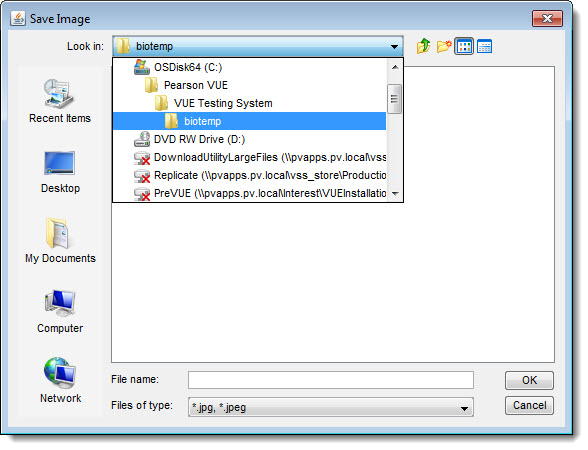
- Select OK to close the Save Image dialog box and save the image.
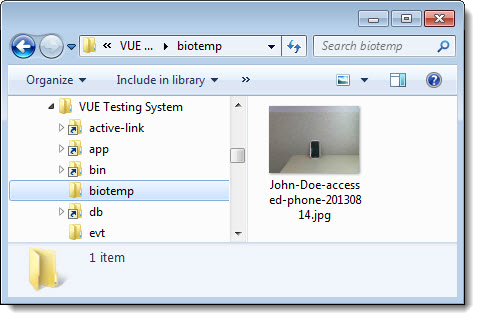
A .jpg file is saved in the %VUERoot%\biotemp directory. ![]()
![]()
- Select the Close button in the upper right corner of the Test Admissions Equipment dialog box to exit the application.
|
What is next? |
Pearson Proprietary and Confidential