Mount the Logitech admissions camera
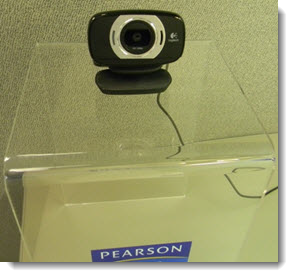
The camera you receive must be attached to the clear stand as shown below (or so that the camera is 36 - 38 inches from the floor). Attach the mounting base to the counter or desk on which the camera will be placed and ensure that it is attached securely using double-sided tape.
|
You must purchase double-sided tape to secure the camera to the stand.
Make sure the camera lens is out of the way of a window/direct sunlight and is facing a neutral-colored background for the candidate photo. |
 Note
Note- Attach the camera to the top of the stand using the double-sided tape. Make sure the camera is still within the 24-36 inches from the approximate location of the candidate's face.
- Place a piece of the double-sided tape on the base of the camera.

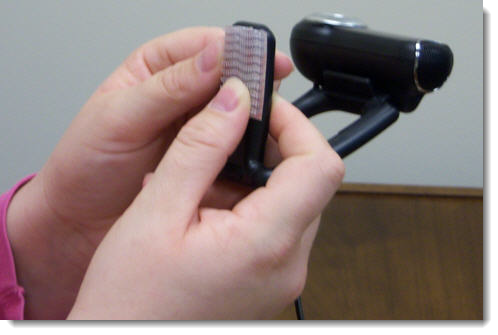
- Press the camera to the Lucite base. This will hold your camera firmly in place and can still be adjusted for height and distance without being misplaced.
- Using double-sided tape, fasten the Lucite stand to the desk.
|
Make sure the camera is 24-36 inches from the candidate’s face once you mount the camera to the stand and fasten the stand to the desk. |
|
Site staff should arrive 15-30 minutes earlier the first day the camera is to be used for admitting candidates, as they may need to make minor adjustments with the functionality of the new hardware/software. Staff should obtain as much practice with the camera via the Test Admissions Equipment application as possible. See the Test and align the admissions camera - candidate topic for using the Test Admissions Equipment application. |
|
What is next? |
Pearson Proprietary and Confidential