Create a service user account (VUE Wrapper account) - server scenario
This account runs the VUE application wrapper. It is not an account used for login. In this section, you will perform two steps:
- Create a local user account and give the account administrative rights on the file Server.
- Assign rights to Log on as a service, Act as part of the operating system, and Allow log on locally.
|
Before beginning this installation process, make sure that you have administrator rights to the workstation or file server where the installation will be performed. |
 Note
NoteCreate account and assign administrator permissions
|
The VUEService account is only for the VUE Application Wrapper service. It should not be used for logging into the system, or it will cause the wrapper service to malfunction, and you will not be able to deliver exams. |
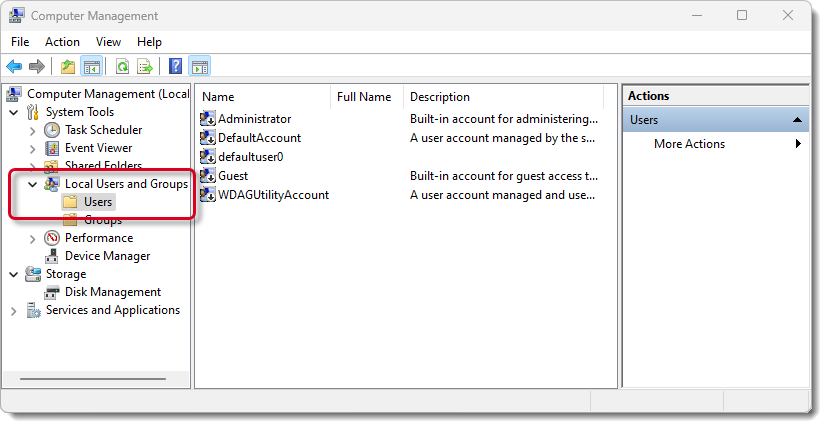
- Create a local service account on the administration workstation (workgroup scenario only) or server (server scenario only). Open the Computer Management dialog box.
- Type Computer Management in the Server Search field next to the Windows Start button and hit Enter on the keyboard.


- In the left pane of the Computer Management dialog box, expand the Local Users and Groups folder. Then right-click the Users folder and choose New User from the pop-up menu.
- The New User dialog box appears. Enter the following service account information. You must enter the User name and Password later in the installation process, so it is a good idea to write them down.
- Type a name for the service in the User name field. The default name is VUEService. We suggest you keep the default name.
- Type a password in the Password field, and then type the same password in the Confirm password field.
- Deselect the User must change password at next logon field.
- Select the User cannot change password field.
- Select the Password never expires field.
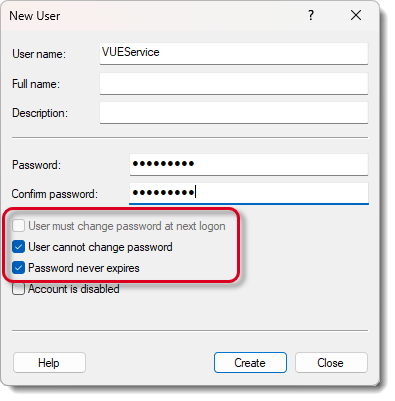
- Select the Create button. Then select the Close button.
- Double-click the VUEService account (or the account name you created above) listed in the middle pane of the Computer Management dialog box.
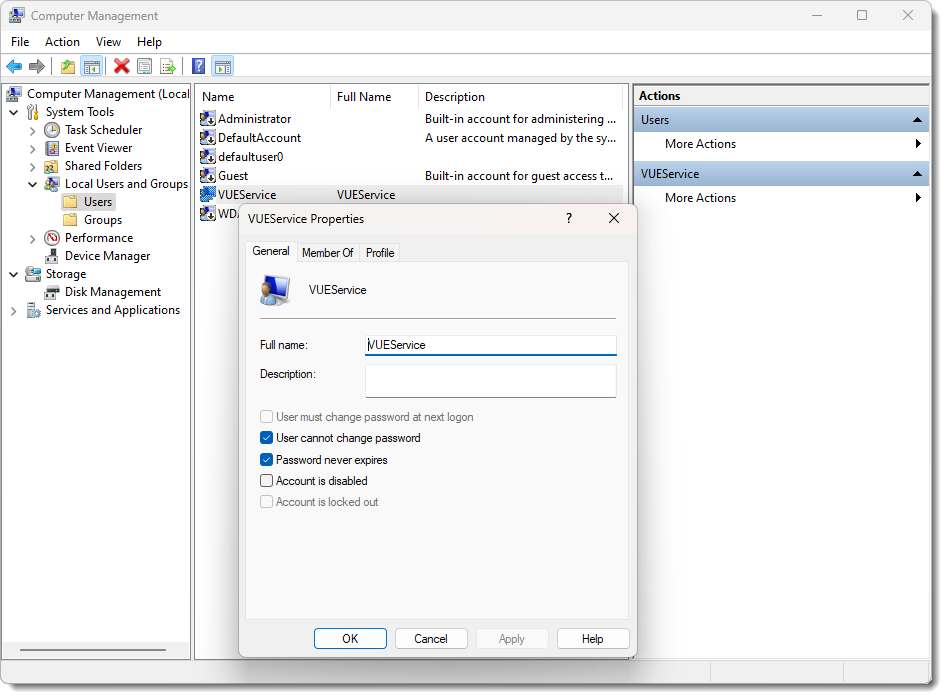
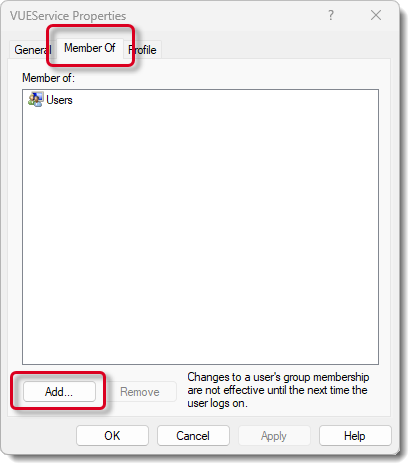
- In the VUEService Properties dialog box that appears, select the Member Of tab. Then select the Add button.
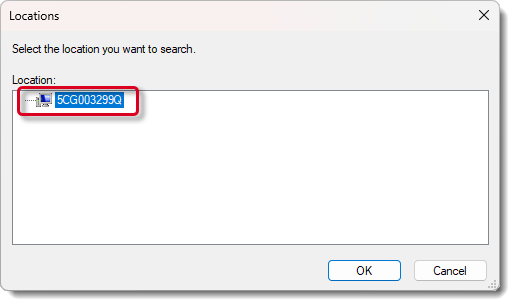
- The Select Groups dialog box appears. You must ensure that you are pointing to the local workstation. Select the Locations button.
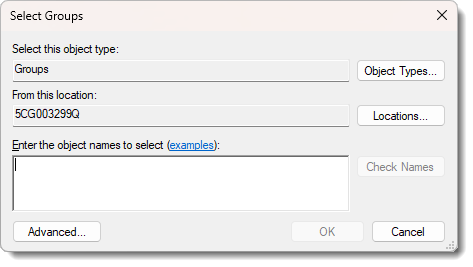
- Make sure the very first location in the list is selected and select OK.
- Select the Advanced button in the Select Groups dialog box.
- Select the Find Now button. The list of built-in groups appears.
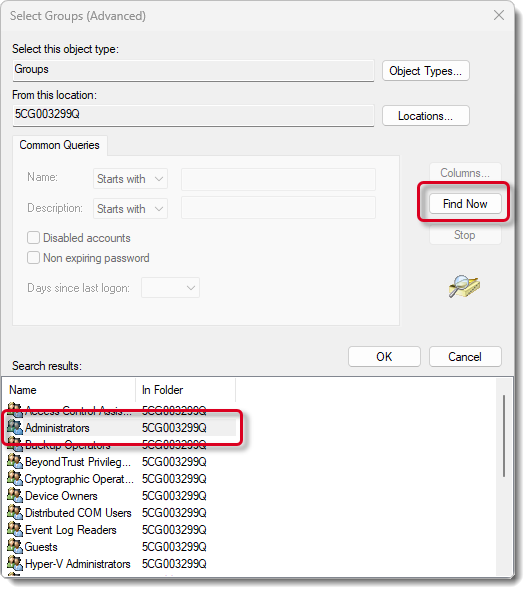
- Select the Administrators group and select OK.
- Select OK to close the Select Groups dialog box.
- Select OK to close the VUEService Properties dialog box.
- Close the Computer Management dialog box.
|
What is next? |
Pearson Proprietary and Confidential