Assign video camera assets in Site Manager
The last piece of the video installation is to assign the video camera assets to equal the number of workstations now visible through the video system. If all the exam delivery workstations at your site will not be used for professional exam delivery, it is important that the asset count is correct to limit the number of professional exams that can be registered at the site simultaneously.
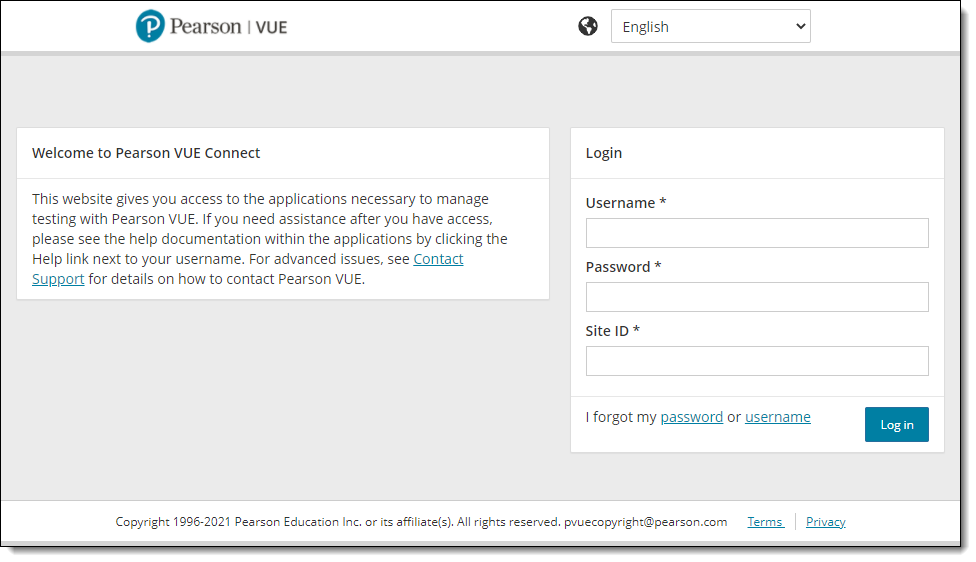
- On the Administration workstation, select the Windows Start button and select the VUE Applications | Connect (Site Manager, ServiceDirect) menu.
- Enter your Username, Password, and Site ID and select Login.

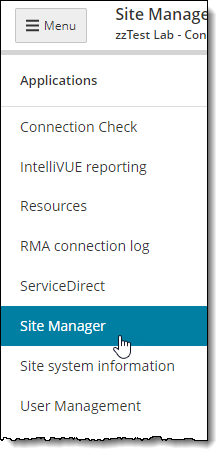
- Select Site Manager in the left navigation menu.
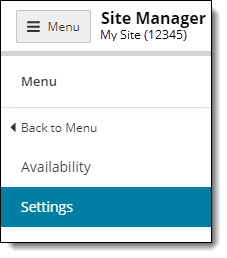
- Select the Settings category.
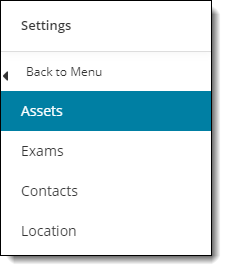
- Select the Assets menu.
- Select the Add button at the top of the Assets page. The Add asset page opens.
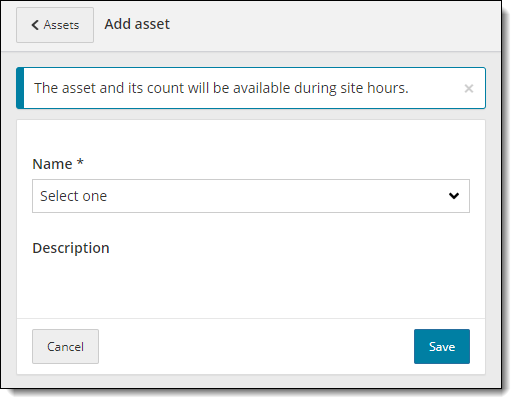
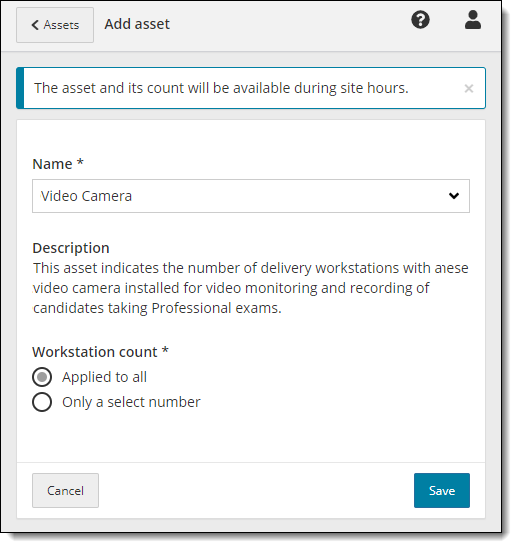
- Select Video Camera from the Name drop-down list.
- You must specify how many workstations to apply the asset to.
- Select Applied to all to assign the asset to all workstations at your site.
- Select Only a select number and enter the Number of workstations to apply the asset to at your site.
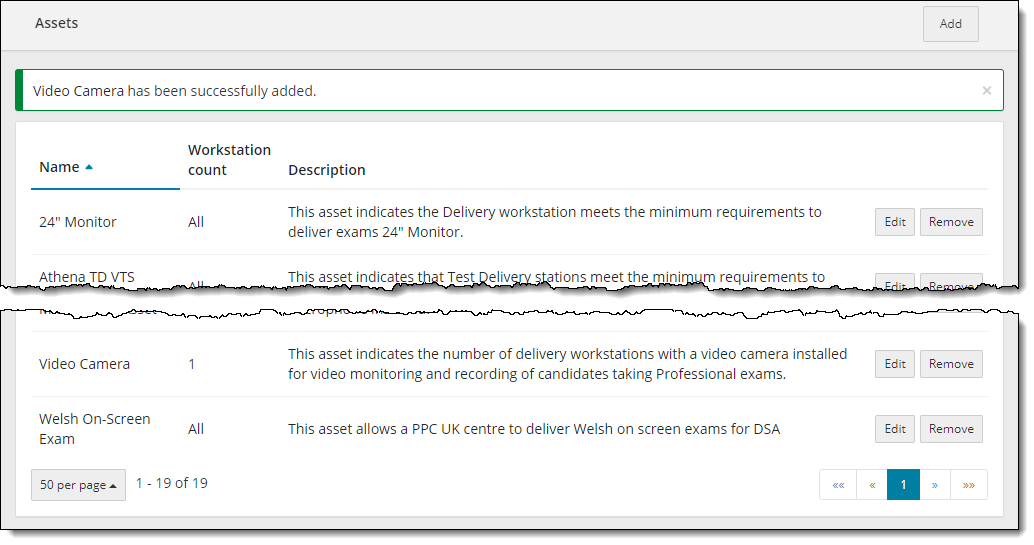
- Select Save to confirm your changes or select Cancel to disregard the changes you made.
- The asset appears in the list on the Assets page in alphabetical order and a message confirms it was successfully added.
- Sign Out of Site Manager.
|
What is next? |
If your site is required to install candidate monitoring cameras above the admissions area and to overlook the entire exam delivery room, see the Install additional security cameras section of this guide. Otherwise, see the Activate your site topic. |
Pearson Proprietary and Confidential