Starting EZWatch PRO
If your test center uses EZWatch PRO for video and audio recording, follow these steps to start EZWatch PRO:
-
Turn on the DVR. EZWatch PRO automatically launches and starts displaying cameras on the monitor.
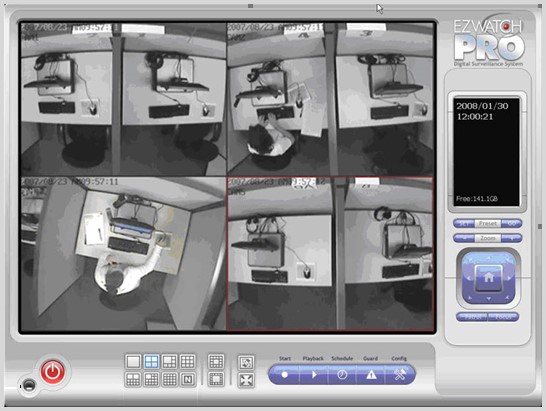
If the application launches in full screen view, press the escape key to return to the EZWatch PRO console, as shown in the following image.

At the bottom of the console, there are buttons that you can select to display different camera grid layouts on the screen. Refer to the following table for more information:
|
|
Divide into one screen |
|
Divide into four screens |
|
Divide into six screens |
|
Divide into nine screens |
|
|
Divide into 10 screens |
|
Divide into 13 screens |
|
Divide into 16 screens |
|
Divide into N screens |
|
|
Divide into 13 screens |
|
Divide into 17 screens |
|
Rotate all screens |
|
Switch to full screen |
-
Click the camera grid button that allows you to display all of the cameras you have in operation at your test center.
-
Ensure the speakers at the administration workstation are turned on.
-
Have someone go into the testing room and speak or make a loud noise to ensure sound comes through the speakers at the administration workstation.
|
|
To exit EZWatch PRO, click the red button on the lower left-side of the console. To minimize EZWatch PRO, click the gray button with an underscore (next to the red button). |
Copyright © 2025 Pearson Education, Inc. or its affiliate(s). All rights reserved. Pearson VUE Confidential. pvuecopyright@pearson.com


