Download site files - workgroup scenario
After you have installed the testing system software, you must obtain your site’s site license file from the Connect portal Site system information page. This file indicates that the installation belongs to an authorized site. Once it is installed in the proper directory, the RMA application can populate your local Pearson VUE database. You can then enter site information using the Site Manager application and test your testing system.
Follow these steps to connect to the Connect portal and download your site’s site license file:
- On the file Server, (server scenario) or the administration workstation (workgroup scenario) select the Windows Start button and select the VUE Applications | Connect menu.
or
Open a web browser and navigate to the Connect portal at: https://connect.pearsonvue.com - Enter your Username, Password, and Site ID, and select the Log in button.

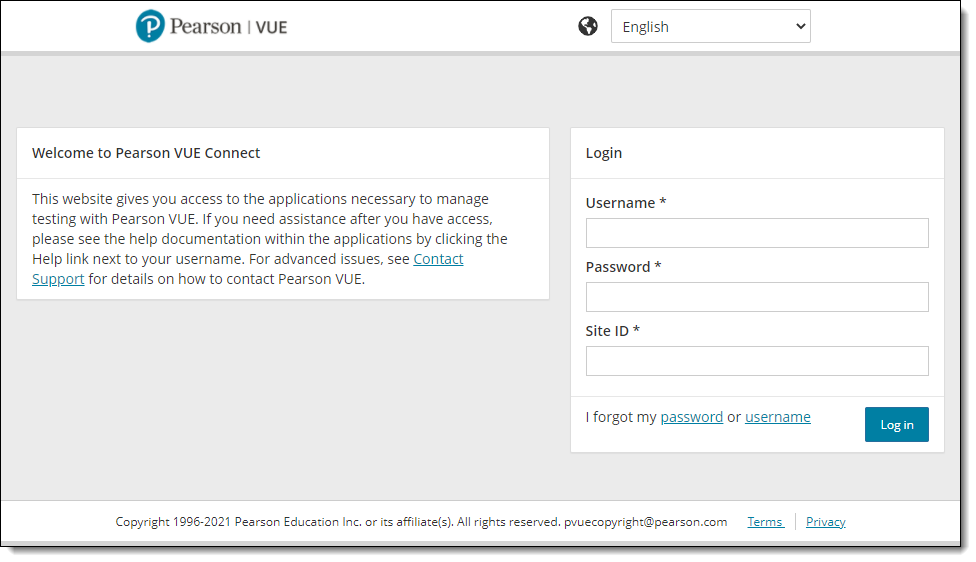
- After you are logged in, the Site system information page opens. See the Site system information online help in the Connect portal for details on the Site system information page.
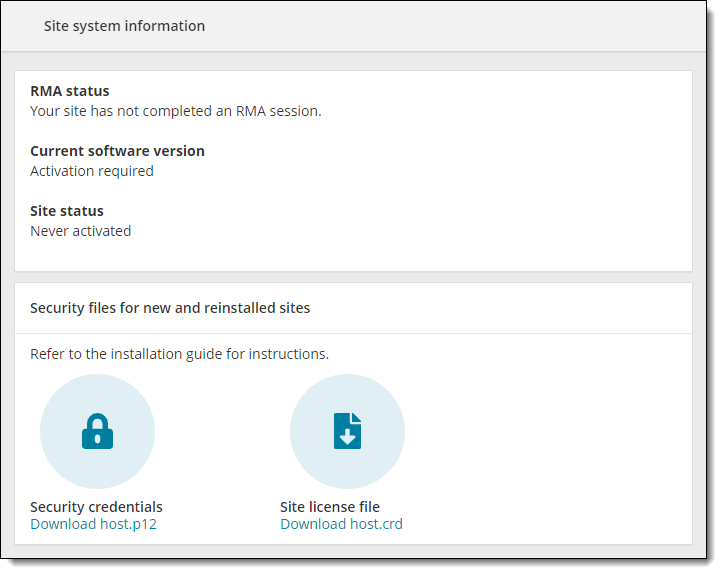
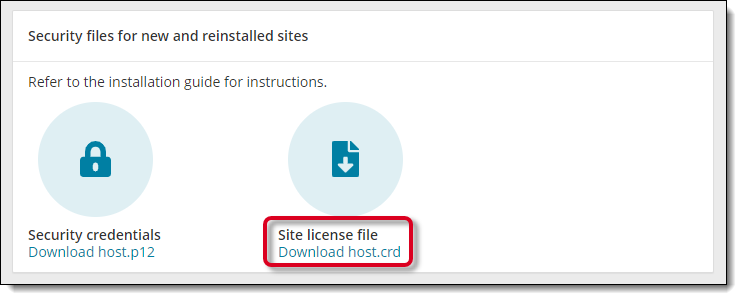
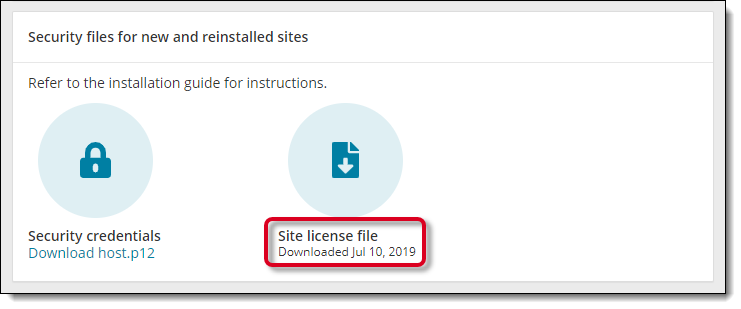
- Select the Download host.crd link below Site license file in the Security files for new and reinstalled sites section.
- The file downloads to the Downloads folder (or the folder you have designated for downloading files). Open a Windows Explorer window and navigate to the Downloads directory.
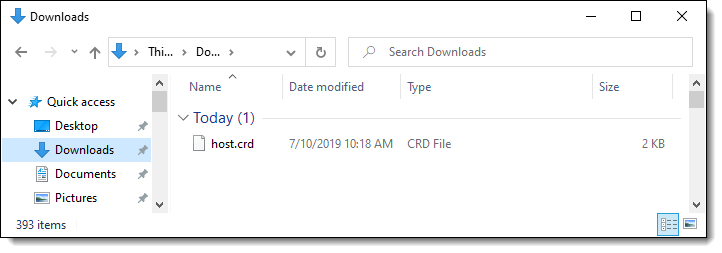
- Cut the host.crd file.
- Navigate to the C:\Pearson VUE\Vue Testing System\db directory and Paste the host.crd file.
- The Security files for new and reinstalled sites section displays the date the Site license file was downloaded.
|
What is next? |
Pearson Proprietary and Confidential